The Hela: of Mice & Magic demo (Steam, October 8, 2026) is a self-contained adventure in a forest by the lake Ansjön. You leave the witch’s home through a canyon, open her cave, mend two stone altars that keep the area’s magic in tune, and collect 48 Glimmer to light the zipline home. Along the way the Ritual Keeper asks you to perform six short puzzle rituals. This page covers all of it in the order you reach it.
| Length | About 35–50 minutes |
| Required to finish | The cave door, both altars, 48 Glimmer, the fire |
| Optional | Six rituals, five trinkets, two ingredients, Glimmer trails |
| Play modes | Solo or 2-player split-screen (no online co-op in the demo) |
New to the controls? Keys and Shades are explained in How to play.
Route at a glance
| # | Step | Required? | Video |
|---|---|---|---|
| 1 | Out of the canyon to the Frog Warden | Yes | NADIO 1:40 |
| 2 | Two trinkets for the Frog Warden | Yes | NADIO 5:05 |
| 3 | Zipline to the witch’s cave, open the four-plate door | Yes | NADIO 6:40 |
| 4 | Meet the Ritual Keeper; six rituals around the area | No | ThaiGameGuide 7:24 |
| 5 | A Broken Horn: three drops of resin | Yes | NADIO 12:25 |
| 6 | Fear of the Dark: four fireflies | Yes | NADIO 26:40 |
| 7 | Feed 48 Glimmer to the fire, zipline home | Yes | NADIO 30:50 |
The canyon
The demo opens with the witch sending you out: the altars overlooking the area have lost their magic, and you first need to find your way out of the canyon. Press Space to skip the cutscene.
- Talk to the Frog Guardian, a glowing stone frog by the path. It tells you to go through the canyon to Ansjön, where the altars are.
- On the way the game teaches crawling (Left Ctrl), climbing (walk at a wall; the symbol on your backpack is your stamina), gliding (hold the mouse button in the air) and swinging from white attach rings.
- Pick up the glowing orange Glimmer orbs as you go. You will need 48 at the end, so take every one you see.
- At the end of the canyon talk to the Frog Warden. Watch: NADIO 1:40
The Frog Warden’s two trinkets
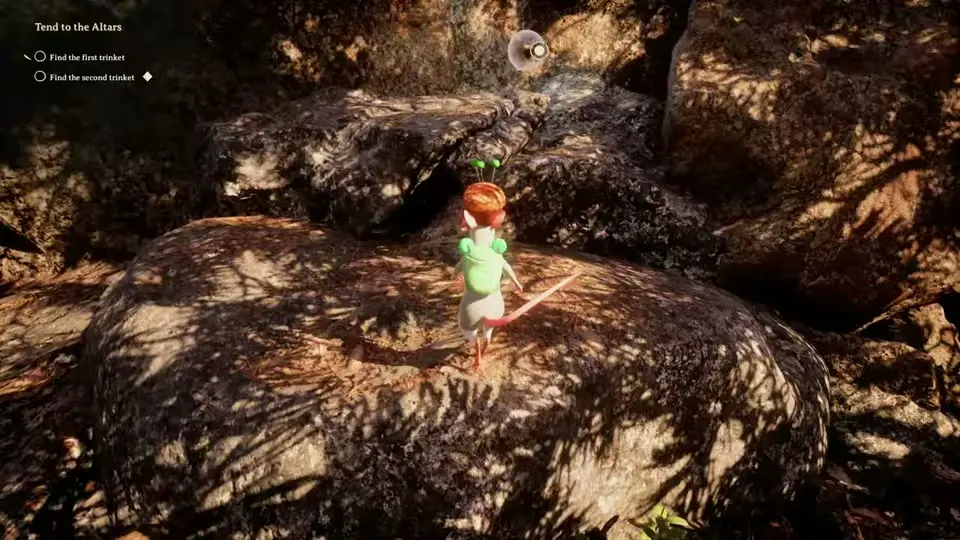
The Frog Warden asks you to find two trinkets nearby. A diamond Search Nearby marker shows the area, among the big rocks beside the frog.
- Yarn Bracelet: at the foot of the large rock behind the Frog Warden, in a clear bubble. Press F to pick it up.
- Pin Cushion: right next to it, on top of that rock. Climb up to reach the bubble.
Both are worn in the witch’s cave. The Frog Warden then points you to the cave under the big tree below, and to a zipline a little further down that takes you straight there. Watch: NADIO 5:05 · PhoneInk 4:56
The cave door: four plates
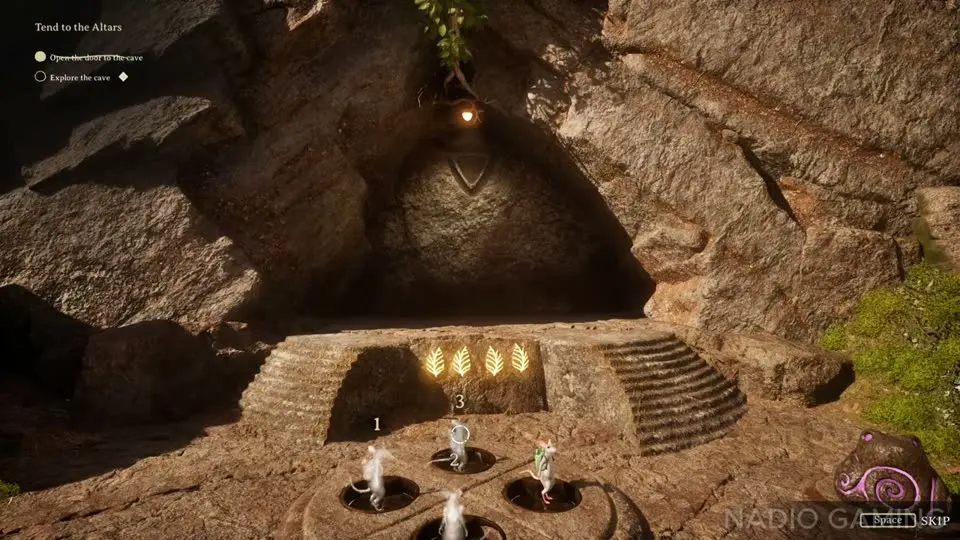
The zipline drops you at a stone door with four round plates in front of it and the Frog Teacher (a stone frog with a purple spiral) beside it. “This door needs four of you to open. No more, no less.”
- Talk to the Frog Teacher. It teaches Shades: hold Q to leave a copy of yourself that stays put.
- Stand on the first plate and hold Q. A leaf above the door lights up and your Shade stays on the plate.
- Walk to the next empty plate and hold Q again. Repeat on the third plate.
- Stand on the fourth plate yourself. All four leaves light up and the door opens.
You can only have three Shades; hold Z to remove them. Two players: each of you takes a plate and you add two Shades. Watch: NADIO 6:40 · ThaiGameGuide co-op 4:48
The witch’s cave
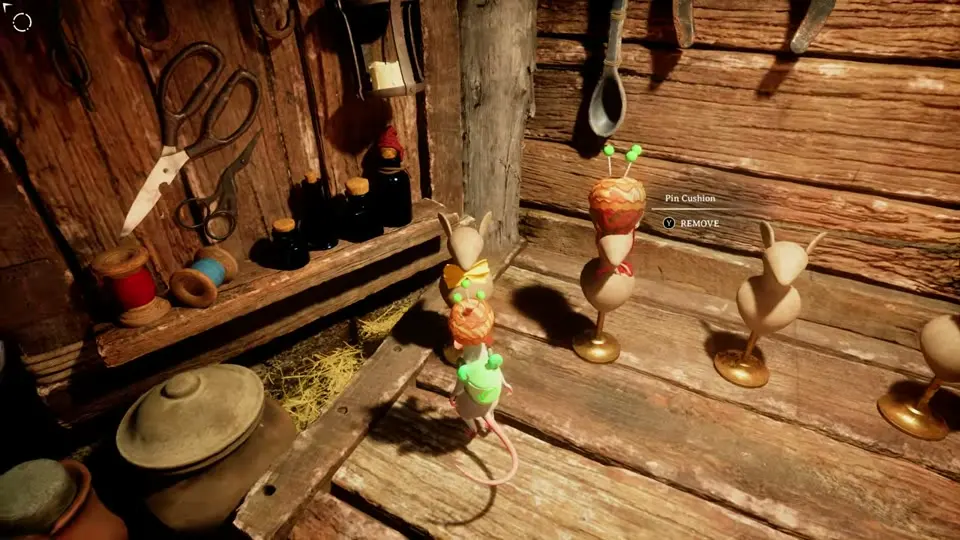
Inside are wooden mannequins. Examine an empty one to put on trinkets (hats and neck pieces), or wear and remove them. A Macaroni Tie is already on one of the mannequins. Examine the painting and the witch tells you about the altars, “creatures of stone and emotion”. There is Glimmer in the cave too. Leave by the exit with the glowing spiral. Watch: PhoneInk 8:48
Outside, the Ritual Keeper greets you and asks you to give magic to the six rituals in the area. That starts the optional quest Ritual Magic. The main quest, Tend to the Altars, asks you to talk to the altar with horns, talk to the altar with a lantern, and collect Glimmer for the way home.
The six rituals
Each ritual starts at a glowing golden symbol. Walk up to it and a card shows its name, difficulty (one to three stars), the 8 Glimmer reward, the goal and how many mice it is made for. Press F to start, Q for info, and F again to reset if it goes wrong.
| Ritual | Stars | Goal | Mice | Video |
|---|---|---|---|---|
| Intersection | ★ | Hit all targets in time | 1 | NADIO 10:30 |
| Party time! | Put the missing pieces in place | ThaiGameGuide 9:42 | ||
| Friendly bond | Hit all targets in time | ThaiGameGuide 11:24 | ||
| Spiral | Hit all targets in time | ThaiGameGuide 13:34 | ||
| All for one (quest log: Nexus) | ★★ | Keep a mouse in the target | 4 | ThaiGameGuide 0:00 |
| Perfect pitch | ★★★ | Keep a mouse in every target | 4 | ThaiGameGuide 0:00 |
Blank cells were not readable in the videos. A four-mouse ritual can be done alone: Shades count as mice.
Intersection
By the stream a short walk from the cave, between a stump hung with red cloth and a carved boulder.
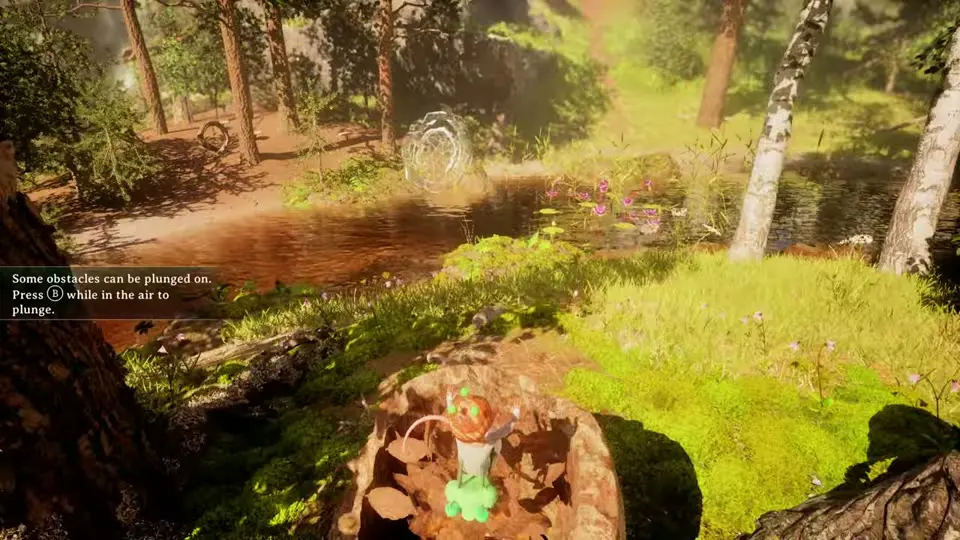
- Press F at the golden symbol. A fiery target appears in the air over the stream.
- Jump across and touch the target.
- Climb onto the leaf-covered stump, jump, and press Left Ctrl in the air to plunge into the hollow stump ahead.
- Intersection: Ritual Complete! and 8 Glimmer.
The game teaches plunging right here (“Some obstacles can be plunged on”). Watch: NADIO 10:30 · PhoneInk 12:06
Party time!
North of Intersection, among a group of big stone animal statues that are missing their pointed hats.
- Start the ritual. Cone-shaped stones appear on the ground nearby.
- Grab a cone with the rope (hold the mouse button at it, then reel it in) or carry it.
- Climb a statue and set the cone on the gap on top of its head. A placed cone turns green.
- When every statue wears its hat, Party time! completes.
Two players can split the statues. Watch: ThaiGameGuide 9:42
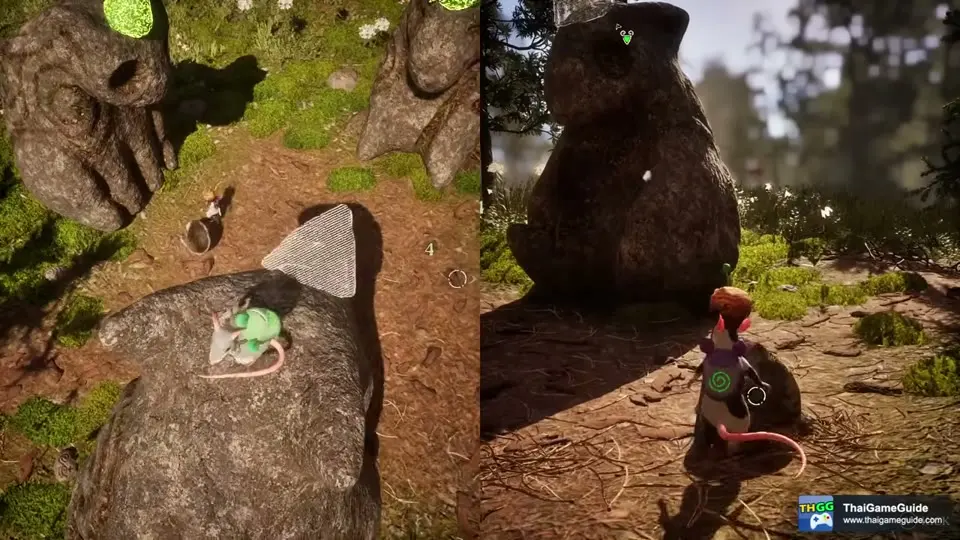
On the way to the next ritual, past the red Snowmobile Path signs, is a spoon catapult: it is so light that a normal jump launches it, no plunge needed. Watch: ThaiGameGuide 10:50
Friendly bond
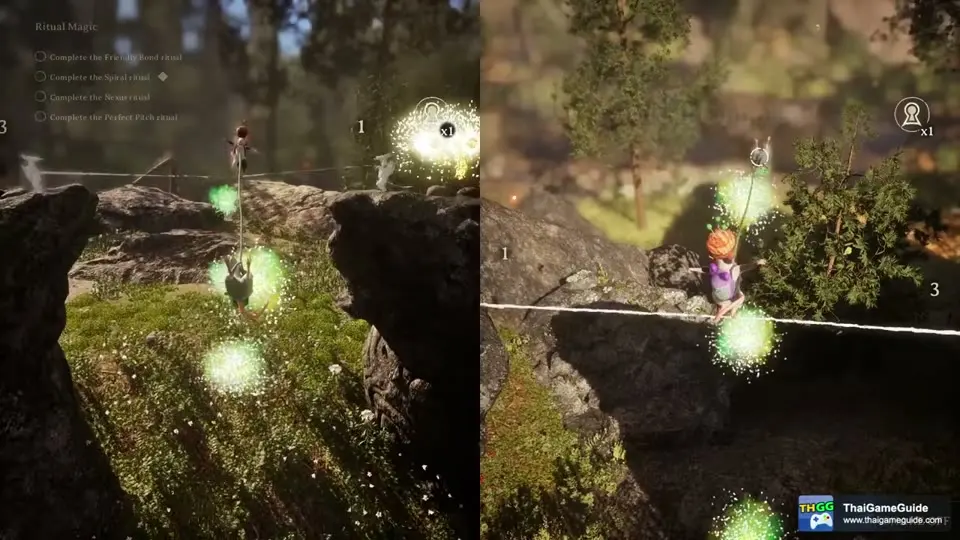
On the rocky hill by the red Snowmobile Path signs. Fiery targets hang in the air between the rocks.
- Start the ritual and look for the targets around the rocks (four of them).
- Use the attach points between the rocks to reach them; in the video a rope stretched between two mice sweeps through the targets.
- Touch every target before time runs out.
Solo, a Shade can hold the other end. Watch: ThaiGameGuide 11:24
Spiral
At a tall red brick chimney standing in the woods next to a collapsed shed. The targets circle the chimney at different heights.
- Start the ritual.
- Climb the chimney and hit the targets on the way up, then plunge or glide through the lower ones.
- Leave a Shade at the top before you jump: if you miss, tap Q to swap back up instead of climbing again.
The bird’s nest on top of the chimney holds the Music Box Key trinket. Watch: ThaiGameGuide 13:34
All for one
By the stream and a plank bridge, at a fallen tree with a Y-shaped root ringed by small stones. The quest log calls it the Nexus ritual.
- Start the ritual. A golden target appears and moves between spots around the root: the ground, a high fork, under a hanging rope, the top of a stump.
- Keep a mouse in the target. Hang from the ropes in the branches (reel in and out) to reach the high spots.
- Place Shades ahead of time on the spots the target moves to: one hanging from the rope by the high branch, one on the stump.
- When the target settles on a mouse or Shade and turns green, All for one: Ritual Complete!
Watch: ThaiGameGuide (All for one) 0:00 · co-op run 17:20
Perfect pitch
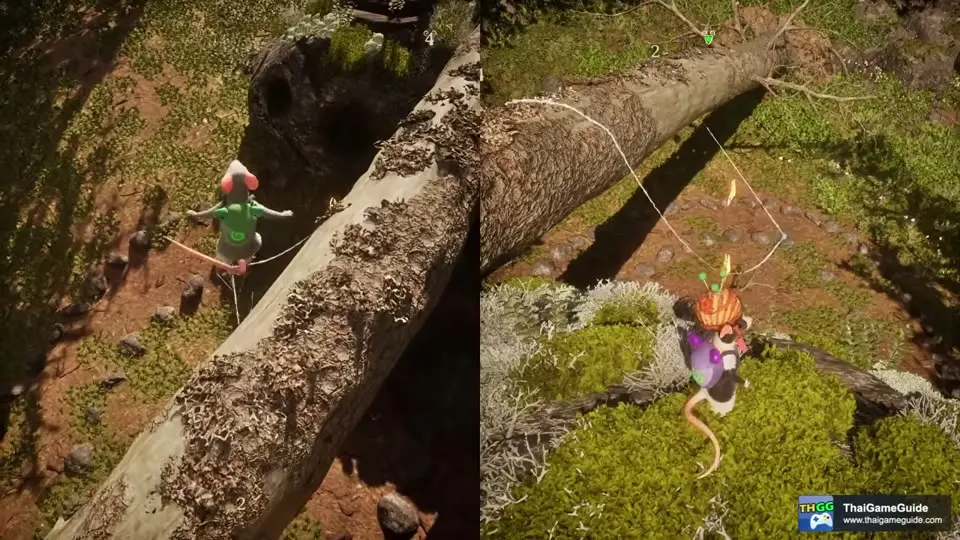
On the way to the lantern altar, where several big tree trunks lie across a hollow near a pond, ringed by small stones.
- Start the ritual. Four golden triangle targets appear on and around the main fallen trunk.
- One is on the side of the trunk: climb onto the trunk’s side and stop inside it, or leave a Shade there while climbing.
- One is on the ground under the trunk: stand in it or leave a Shade.
- The rest are on the white rope running from the trunk down to the ground: walk the rope and stop in each triangle, leaving a Shade in one.
- When every target holds a mouse, they turn green: Perfect pitch: Ritual Complete!
Solo this takes you plus all three Shades. Watch: ThaiGameGuide (Perfect pitch) 0:00 · co-op run 19:30
Reward: the Witch Leaf
With all six done, the quest changes to Meet the Ritual Keeper in the Cave. Go back into the witch’s cave and talk to the Ritual Keeper for the Witch Leaf trinket. Watch: ThaiGameGuide 20:52
A Broken Horn (altar with horns)
Past Intersection, on a small slope with purple lilac, stands a stone altar missing one horn: “A moose ran right into my prettiest horn and it fell off!” It asks for resin from a tree nearby.
- Talk to the altar. New request: A Broken Horn, Gather resin to glue the horn back (0/3).
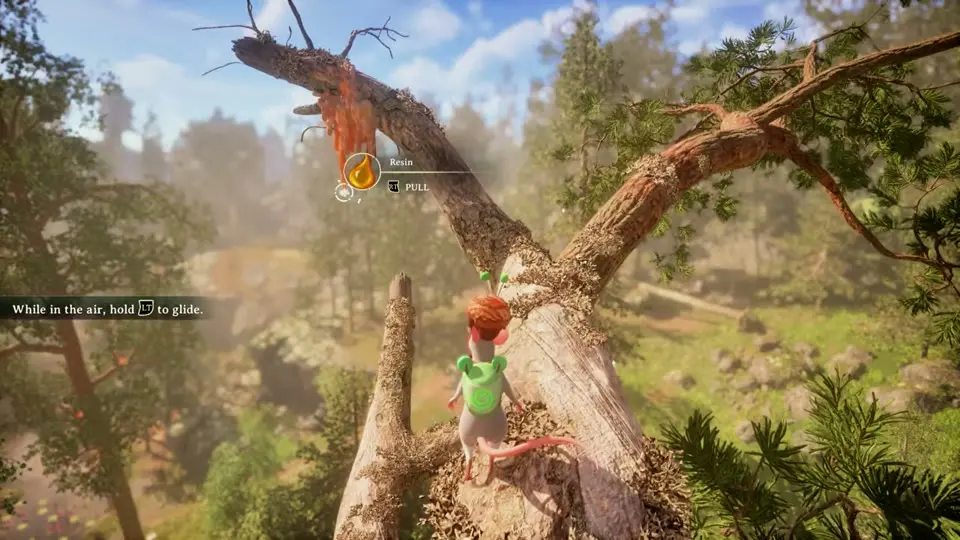
- Go to the tall, twisted pine next to it with a dead top. The resin is the orange blobs at the ends of its branches.
- Climb the trunk to the bracket-fungus ledges, then use the attach points to swing and reel yourself higher. Aim at a blob and pull it down: 1/3, then 2/3 and 3/3 further up.
- Before each hard climb, hold Q to leave a Shade as a checkpoint; if you fall, tap Q to swap back.
- Glide back down to the altar, climb up its body to the horn stub and press F to add the resin.
The horn snaps back into place. Watch: NADIO 12:25 · PhoneInk 19:32
Fear of the Dark (altar with a lantern)
Deeper in the forest, a stone altar holds an empty lantern and is afraid of the dark. “There are fireflies just down by the mire over there.”
- Talk to the altar. New request: Fear of the Dark, Gather fireflies to the altar’s lantern (0/4).
- Go down into the boggy hollow below it, with fallen logs, stumps and white flowers. Fireflies sit on blades of grass; press F to pick each one up.
- Look along the fallen log at the entrance, around the roots and logs at the edge, on top of the tall stump, and by the water under a leaning log.
- With 4/4, climb the altar’s arm and put the fireflies in its lantern.
Watch: NADIO 26:40 · PhoneInk 40:06
Other trinkets and ingredients
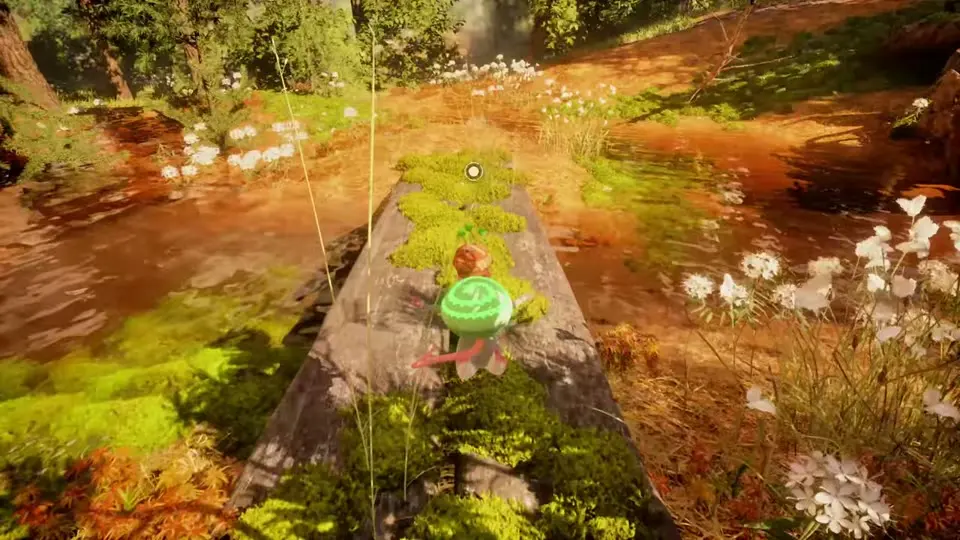
Trinkets are hats and neck pieces you wear at the mannequins in the cave. Ingredients are for brewing, which the demo does not let you do yet.
| Item | Kind | Where | Video |
|---|---|---|---|
| Yarn Bracelet | Trinket (neck) | Foot of the rock behind the Frog Warden | PhoneInk 4:56 |
| Pin Cushion | Trinket (hat) | Top of the same rock | PhoneInk 5:06 |
| Macaroni Tie | Trinket (neck) | On a mannequin in the witch’s cave | PhoneInk 9:02 |
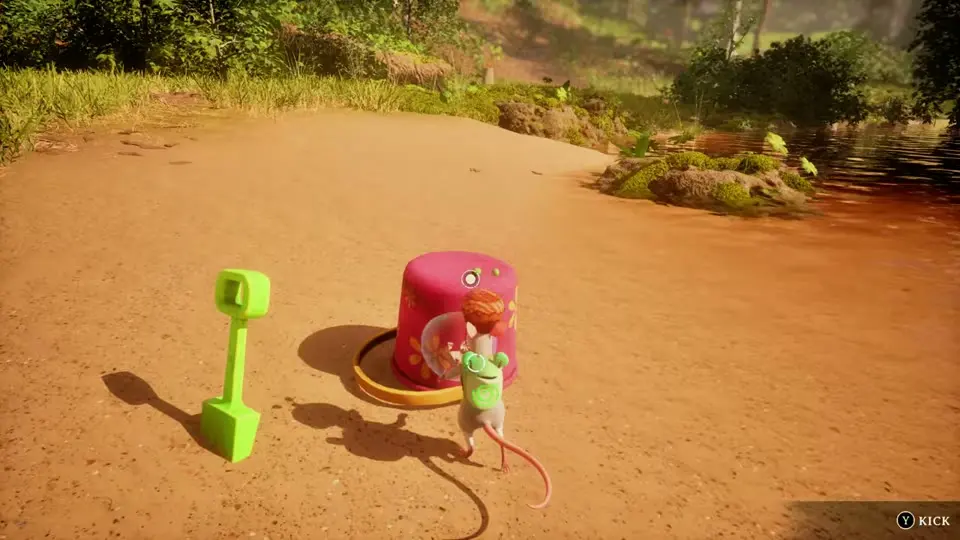
| Seashell Beret | Trinket (hat) | Sandy stream bank toward the lantern altar, by a pink toy bucket and green spade | PhoneInk 27:28 |
| Music Box Key | Trinket | Bird’s nest on top of the red brick chimney (Spiral) | PhoneInk 39:12 |
| Witch Leaf | Trinket | Ritual Keeper’s reward for all six rituals | ThaiGameGuide 20:52 |
| Arctic Starflower | Ingredient | White star-shaped flowers in the grass, many spots | NADIO 11:48 |
| Sticky Bun Mushroom | Ingredient | Orange mushrooms, e.g. by the misty rocks upstream | PhoneInk 17:28 |
The Seashell Beret bucket can also be kicked. The cave’s collection shelf groups hats as Witch Essentials, Toy-Box Treasures and Forest Keepsakes, so there are more trinkets than the demo shows.
Where to find 48 Glimmer
The zipline home costs 48 Glimmer. You will pass most of it on the required route, and there is more for the thorough:
- Every ritual gives 8. Six rituals are 48 on their own.
- The red Little Hut past the sandy bank: squeeze in through the gap at the side. In PhoneInk’s run the count went from 29 to 38 in and around it. Watch: PhoneInk 31:30
- Glimmer trails, explained by a frog on the way to the horn altar: pick up the first orb and a timed trail of more appears. Miss the time and it resets. Watch: PhoneInk 19:12
- The witch’s cave, the canyon and the tops of trees and rocks.
The quest line Collect Glimmer for the way home (x/48) shows your count. In a two-player game the count is shared.
Fire up the zipline and go home
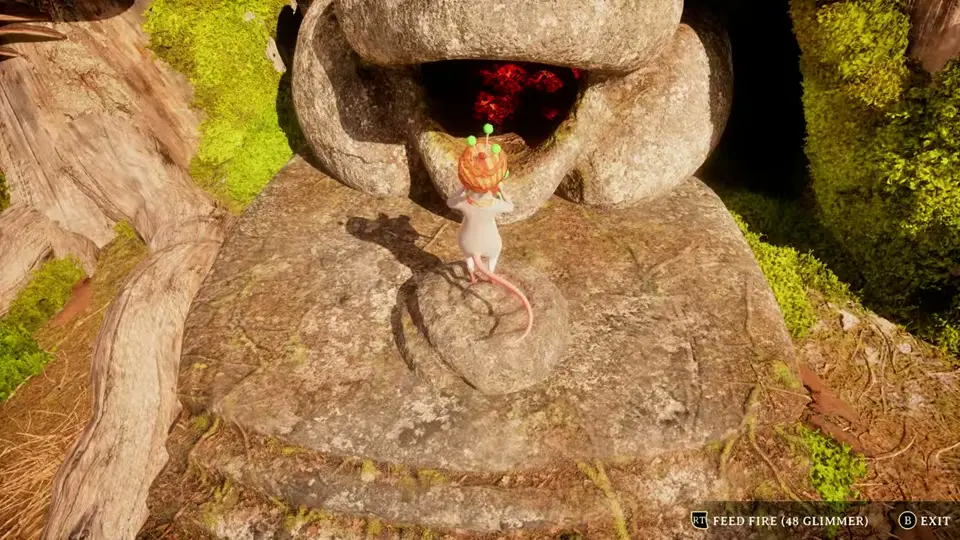
With both altars mended, go to the big witch tree above the cave. At its roots is a stone fire pit shaped like a frog’s mouth.
- Choose Feed fire (48 Glimmer).
- Hold the button, then let go at the right moment. Released too early! or Released too late! means try again.
- The fire roars up, the stone face on the tree opens its eyes and the heart-shaped ring at the top fills with light.
- Climb the tree along the fungus ledges (leave a Shade on the way as a checkpoint) to the heart-shaped ring and press F: Leave the area and go home.
The witch also says you can stay and explore first. Watch: NADIO 30:50 · PhoneInk 44:14
What the ending shows
The zipline flies you over the forest into a trailer for the full game: a much larger world inspired by Northern Sweden, the witch’s quests, gathering ingredients and brewing, new abilities, and up to four players in online co-op, “on December 1st, 2026”. A recipe page in the trailer lists Glimmer, Sticky Bun Mushroom and Arctic Starflower for a Tonic. Watch: NADIO 34:20
Release details, price and editions: release date. How brewing and the animal friends will work: How to play.